Model the Volume of Space Visible by a Sensor
- May 8, 2017
- Article
-
 Analysis Workbench
With the introduction to Volumetrics in STK 11, users can now view Coverage in 3D space. Volumetrics allows you to define custom 3D volumetric grids in any coordinate system and apply spatial calculations to that grid. Volumetrics combines the flexibility of the Analysis Workbench with the spatial analysis capabilities of Coverage. Grids can be defined relative to the Earth, or any object, moving or stationary.
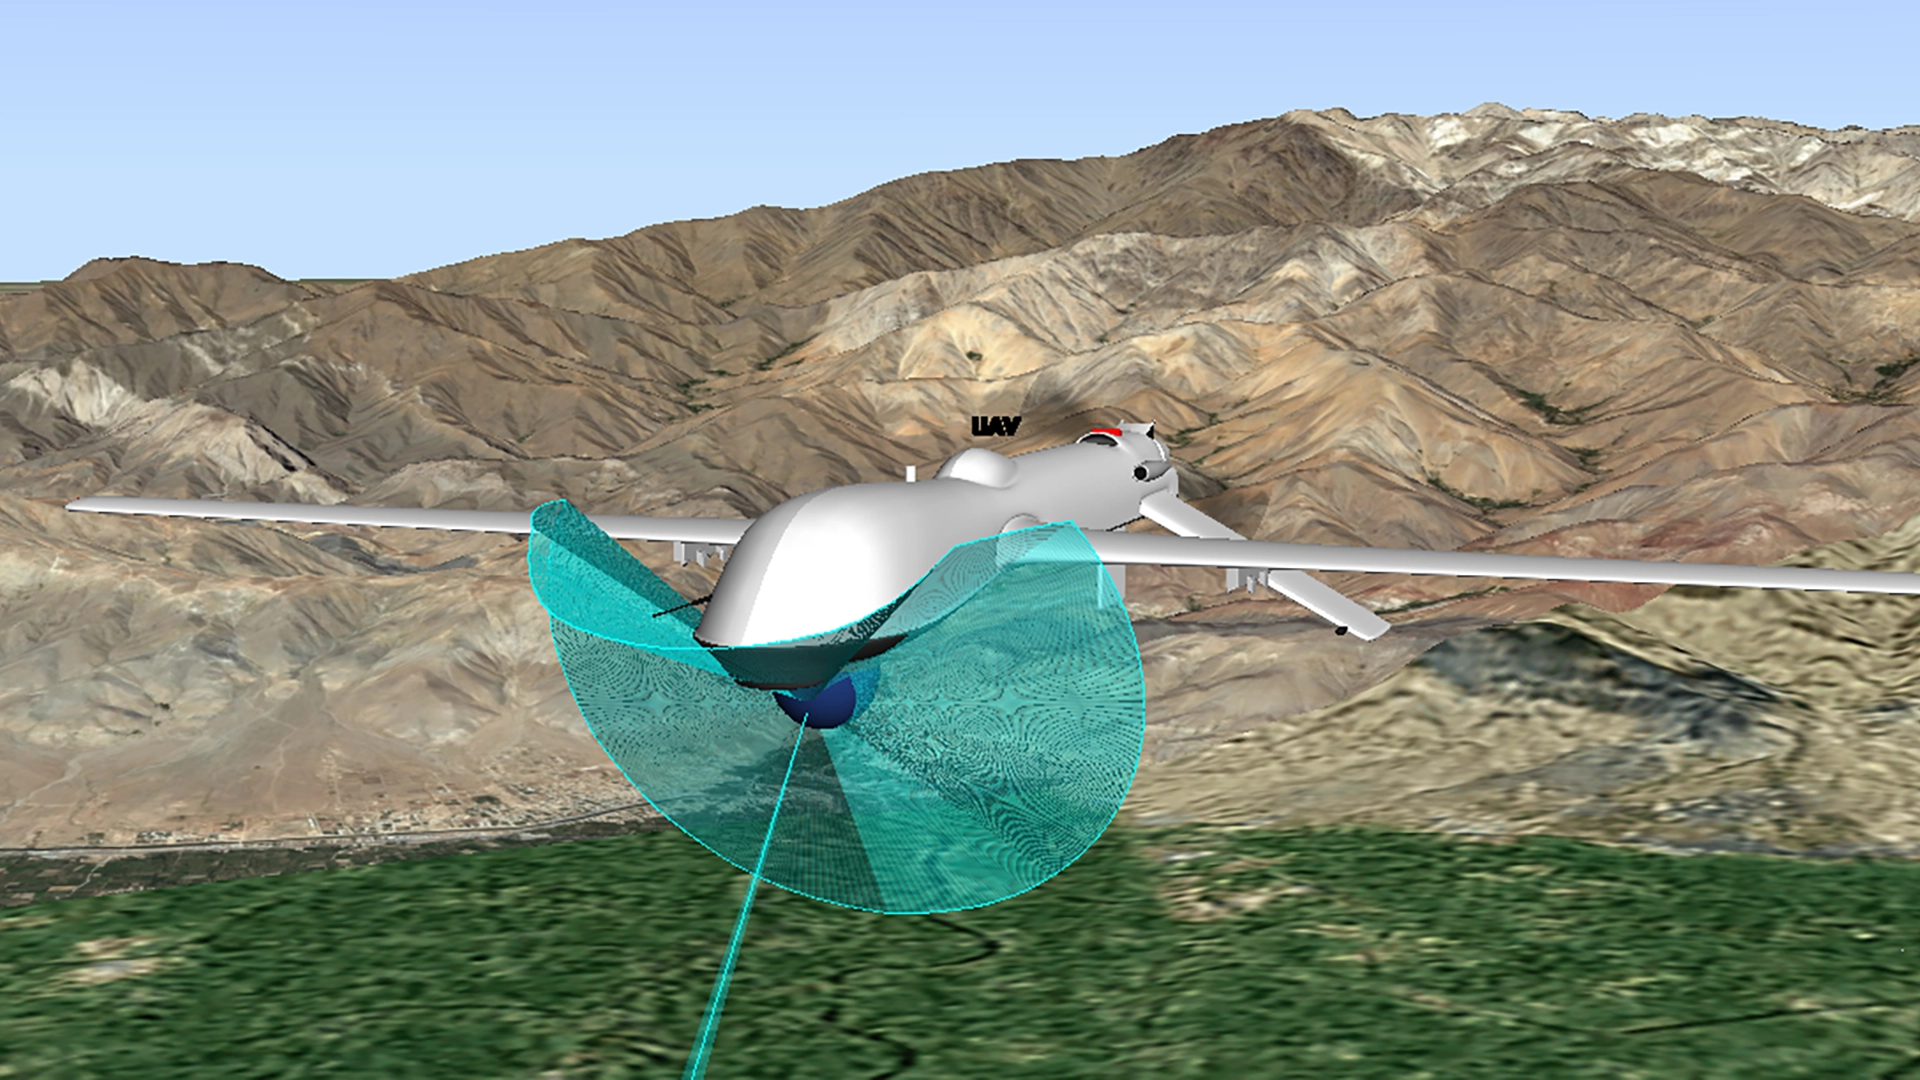
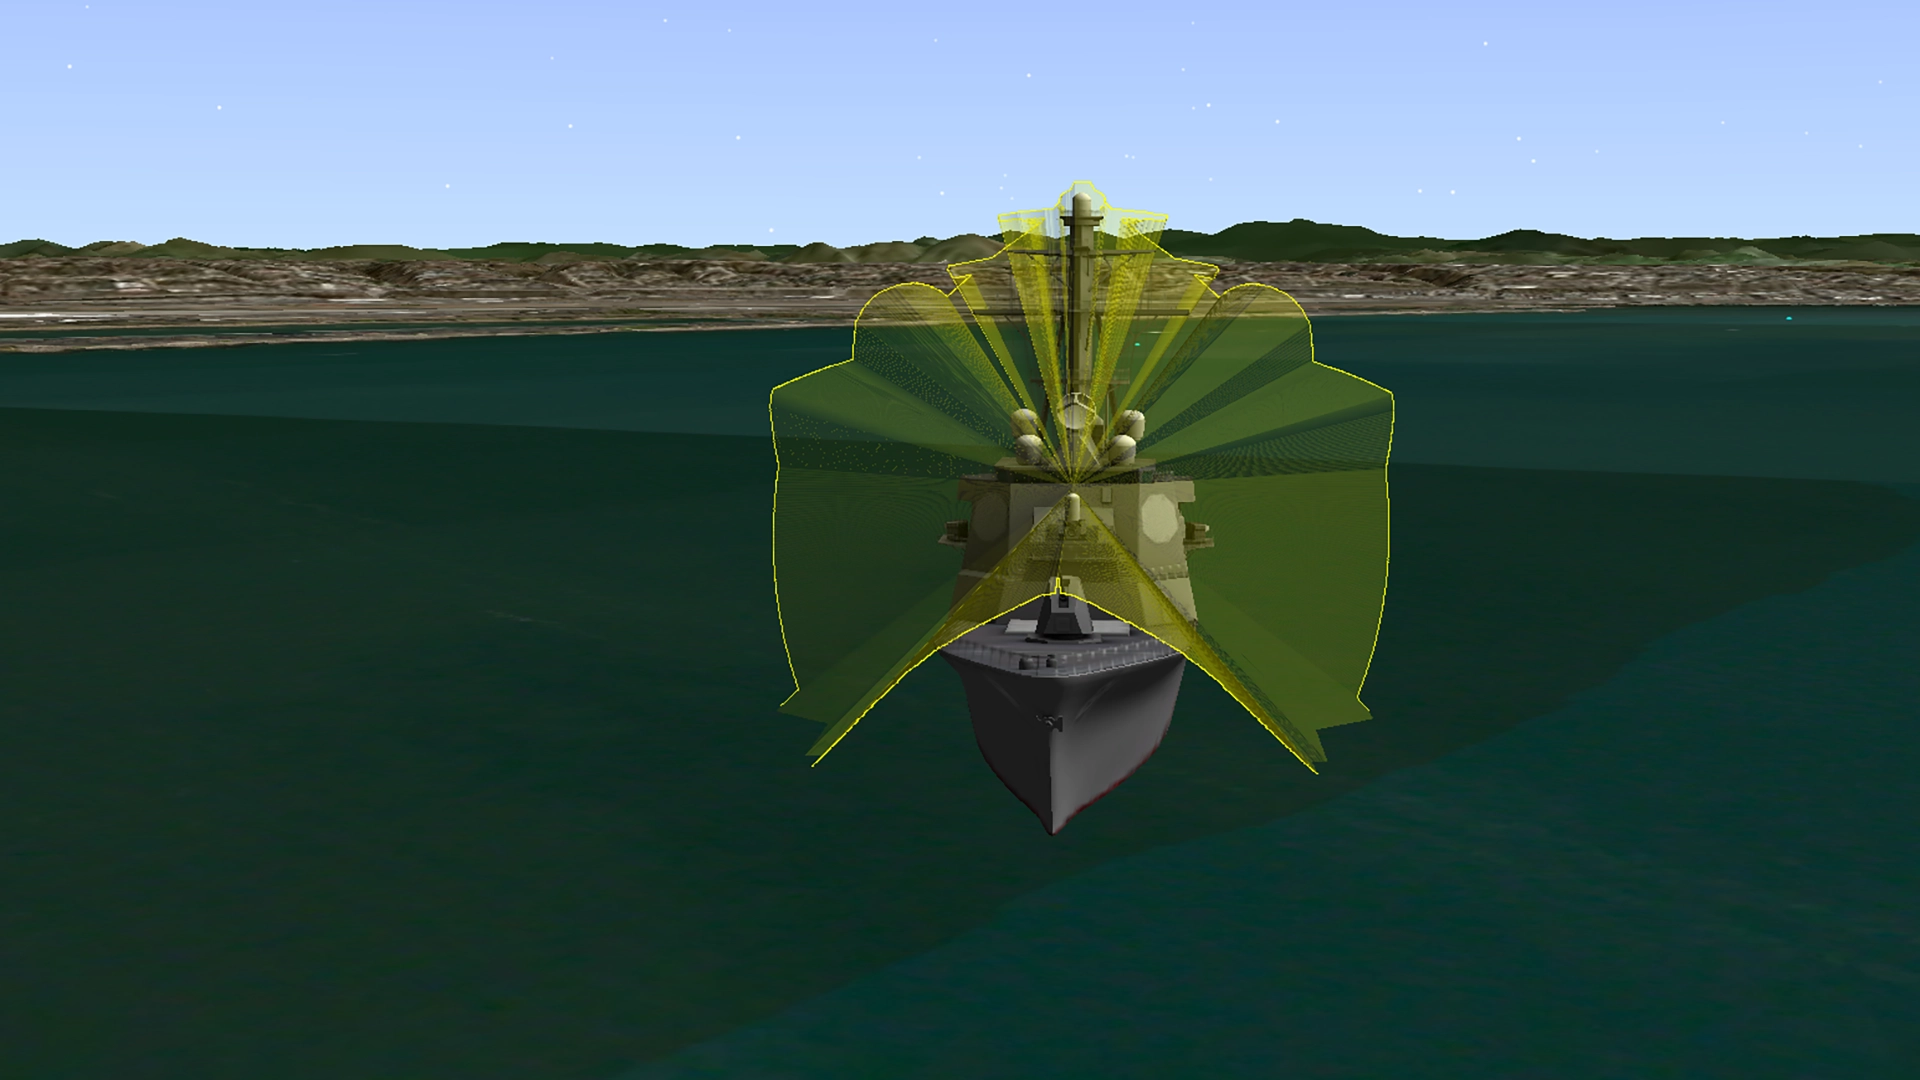
The tutorial below introduces users to the Volumetric object and a spatial condition from the Analysis Workbench that models the volume of space visible by a sensor, based on body obscurations.
Assumptions:
The body mask files have previously been computed using the STK AzEl Mask Tool.
Other Tips and Tricks:
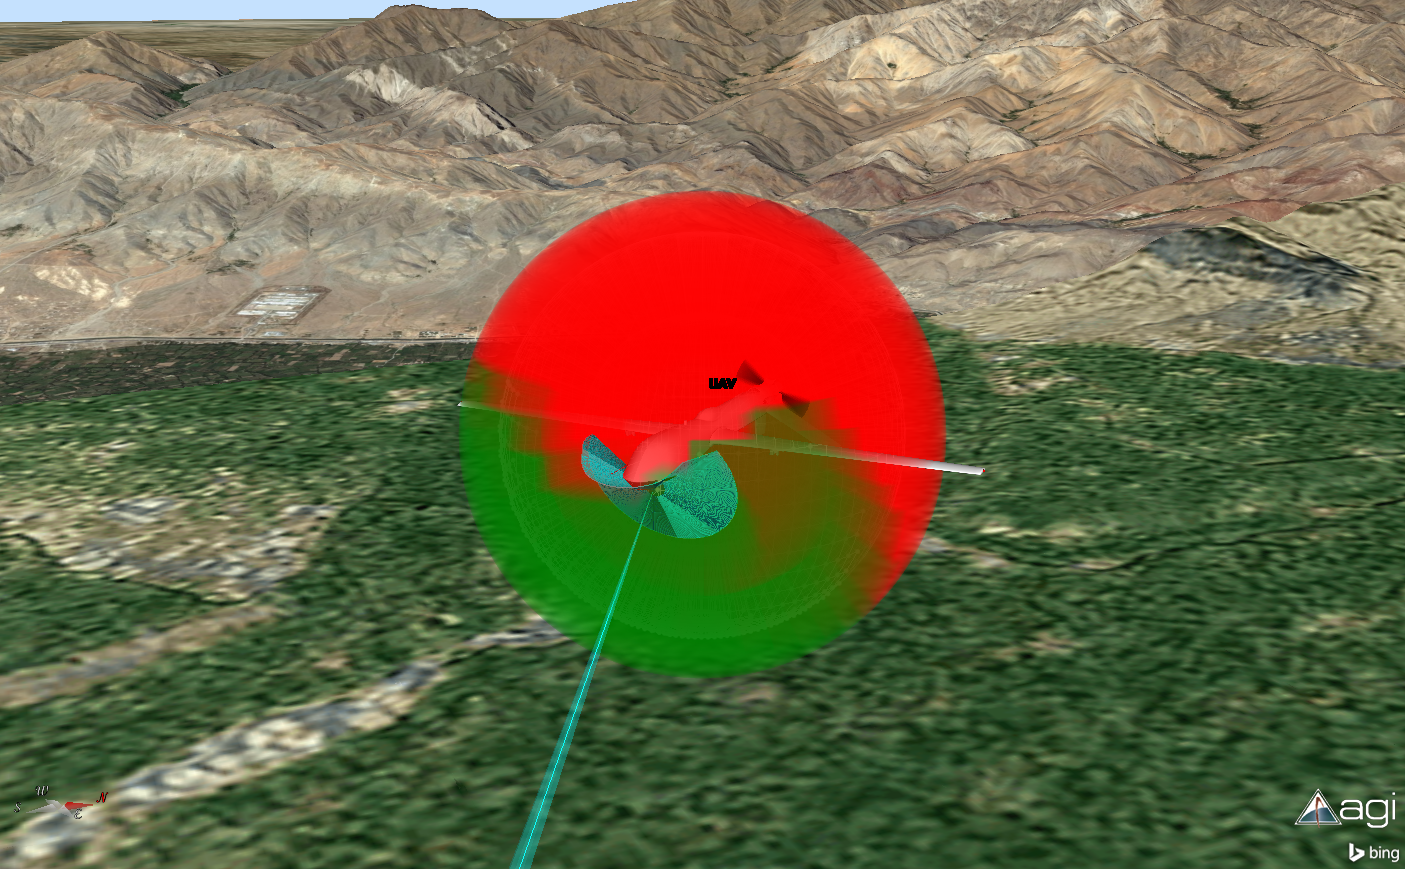
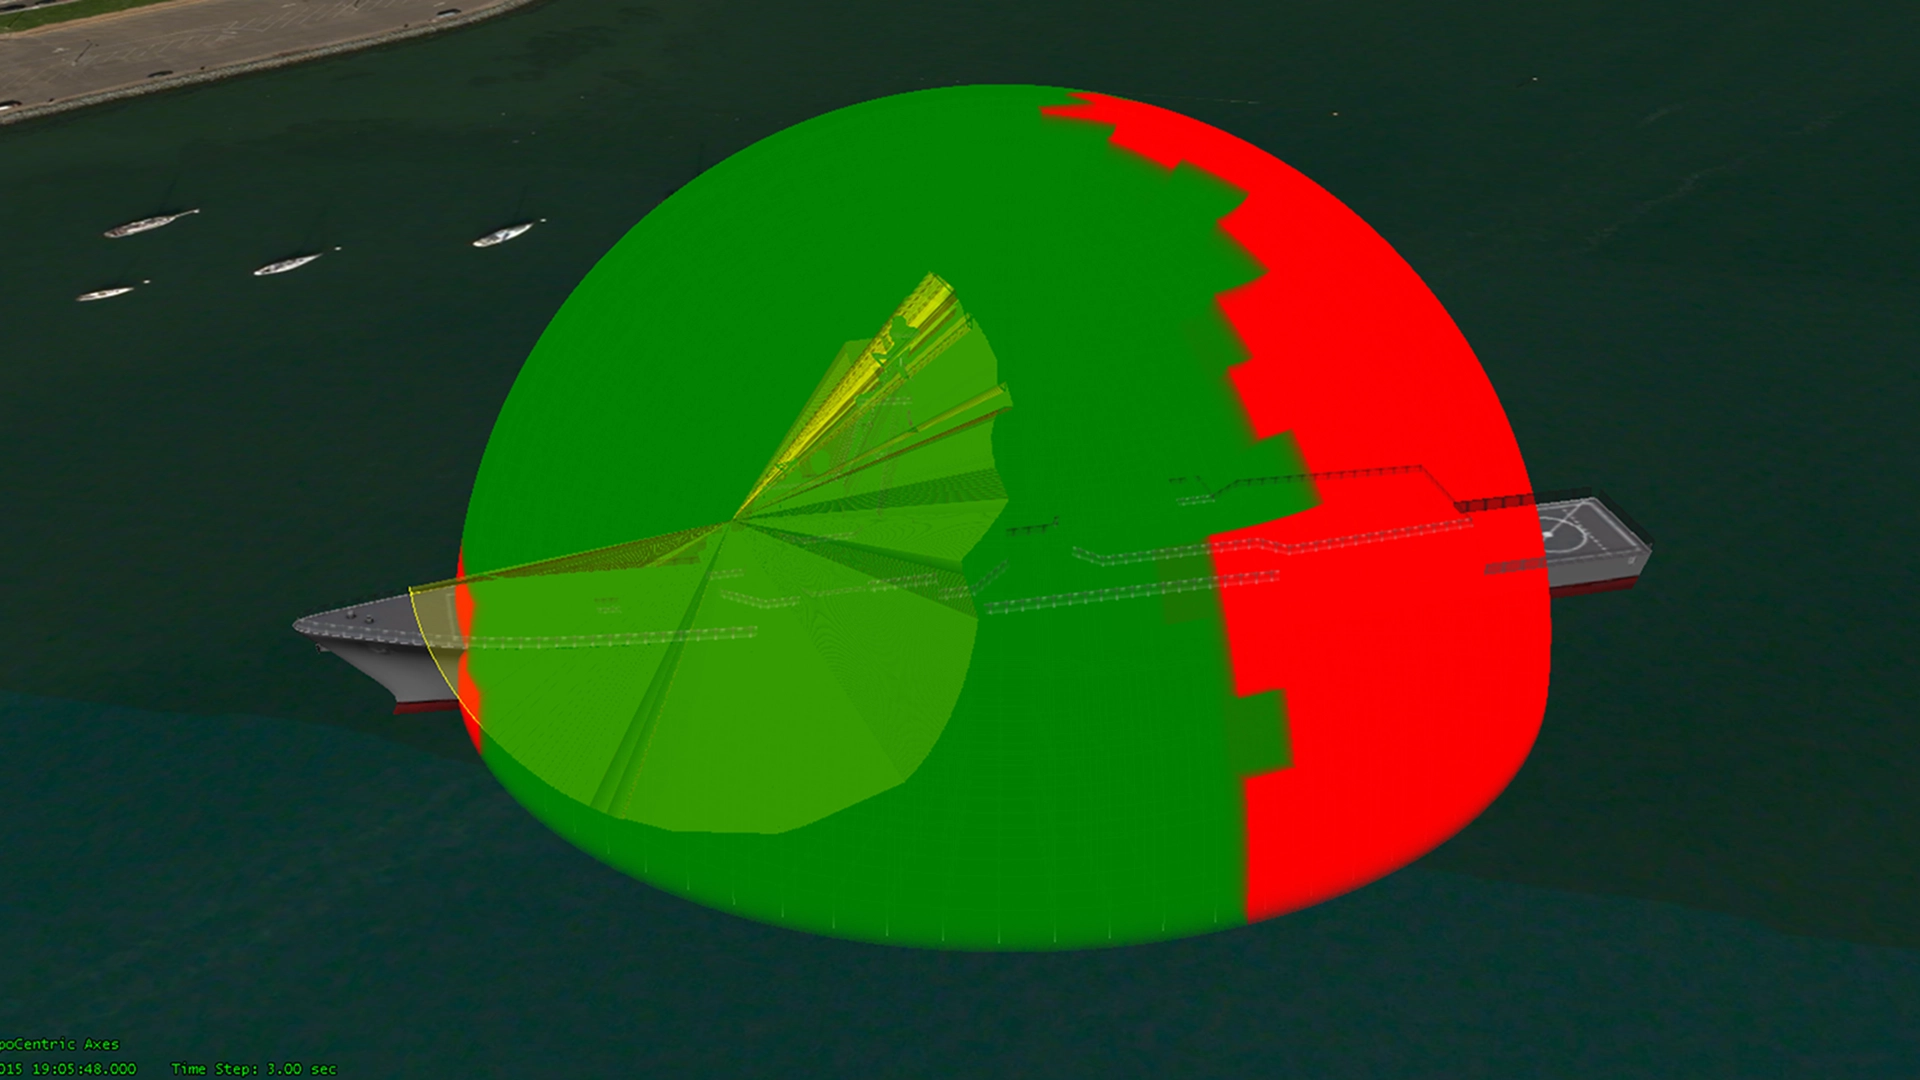
In order to increase fidelity, increase the number of grid points in the SimpleSphere grid and then recompute. This may increase computation time.
If it isn’t necessary to display the body mask volumetrics graphics for the entire analysis interval, you may want to create a new Fixed Duration Time Interval for the Scenario Object and then utilize it in the Volumetric1 Basic à Interval page.
Smoothing and Shading can be applied to enhance the graphics in the Volumetric1 3D Graphics à Attributes page.
The tutorial below introduces users to the Volumetric object and a spatial condition from the Analysis Workbench that models the volume of space visible by a sensor, based on body obscurations.
Assumptions:
The body mask files have previously been computed using the STK AzEl Mask Tool.
- Right click on the parent object (Ship, Aircraft, etc) and select Analysis Workbench
- Select the Spatial Analysis Tab
- Select
 to create a new Volume Grid and set the following parameters:
- Type: Spherical
- Name: SimpleSphere
- Reference System: Leave this value as the default (should be the parent object’s Body)
- Click
 and set the minimum and maximum coordinate bounds and the number of steps:
- Azimuth: between 0 and 360 deg with 36 steps
- Elevation: between -90 and 90 deg with 18 steps
- Range: between 30 and 50 m with 1 step
- Click OK twice to apply the changes and create the new grid. The SimpleSphere grid is added under My Components
- While still in the Spatial Analysis Tab, highlight the body mask sensor under the parent object
- Select to create a new Volume Grid and set the following parameters:
- Type: Constrained
- Name: BMSK_Constrained
- Click Reference Grid
 to bring up Volume grid selector from Analysis Workbench. Select your parent object on the left and SimpleSphere on the right. Click OK to assign the selection.
 - Click Spatial Condition to bring up the Spatial Condition selector from Analysis Workbench. Select your body mask sensor on the left and Visibility on the right. Click OK to assign the selection.
- Click OK to apply your changes and create the new grid. The BMSK_Constrained grid is added under My Components
- Click Close and dismiss the Analysis Workbench.
- From the Insert STK Objects menu select Volumetric (
 ) on the left and Define Properties on the right.
 - On the Volumetric1 BasicàDefinition page, click next to Volume Grid to bring up the Volume Grid selector from Analysis Workbench.
- Select the body mask sensor on the left and BMSK_Constrained on the right.
- Click OK to assign the selected volume grid to Volumetric1.
- Click Apply to assign all selections to Volumetric1.
- Right click Volumetric1 in the Object Browser and select VolumetricàCompute to initiate evaluation of volumetric data over time and across the grid.
Other Tips and Tricks:
In order to increase fidelity, increase the number of grid points in the SimpleSphere grid and then recompute. This may increase computation time.
If it isn’t necessary to display the body mask volumetrics graphics for the entire analysis interval, you may want to create a new Fixed Duration Time Interval for the Scenario Object and then utilize it in the Volumetric1 Basic à Interval page.
Smoothing and Shading can be applied to enhance the graphics in the Volumetric1 3D Graphics à Attributes page.